







Repair guide. This article examines iPhone Battery Compatibility Guide for Repair Shops from a practical battery and replacement-part selection perspective. It is written for repair technicians, wholesalers, retailers, and device owners who need a clear way to compare compatibility, safety, quality, and cost before ordering. Product names and links below point to the current 3C Easy catalog; confirm the exact model, connector, revision, voltage, and stock status on the product page before purchase.
For related catalog comparison, review PISEN Fast Charging Mobile Phone Built-in Battery I15 Pro Max and PISEN Fast Charging Mobile Phone Built-in Battery I15 Pro against the exact device or workflow requirements before ordering.
Why this decision deserves a method
Many electronics problems are caused by a mismatch rather than a single defective component. A part can look correct but use a different connector, mounting position, firmware expectation, power profile, or model revision. The same is true for accessories: a charger can advertise a high output but still be unsuitable when the cable, device protocol, thermal environment, or outlet differs. A reliable decision therefore starts with the device and the job requirement, not with the lowest headline price.

For a repair shop, the cost of a wrong order includes return shipping, technician time, a delayed customer repair, and the possibility of secondary damage during repeated disassembly. For a retailer, a vague product description can create avoidable returns and poor reviews. The strongest process is repeatable: identify the exact use case, check the specification that controls compatibility, inspect the physical item, test it before installation or resale, and record the result.
Step 1: identify the real requirement
Write down the model family, exact model number, intended use, and operating environment. For repair parts, record the device model, region where relevant, connector position, screen size, part revision, and whether the repair requires transferring a small component from the original assembly. For charging products, record the number of devices, required output, plug type, cable length, travel needs, and whether the user needs wired, magnetic, or wireless charging. For audio and mounting products, record the phone connector, case thickness, vehicle position, fit, and daily handling conditions.
- Compatibility: match the part or accessory to the exact device family and physical interface.
- Performance: separate advertised maximum output from the output the device can actually accept.
- Reliability: look for construction details, protection features, test results, and a clear warranty process.
- Serviceability: consider installation time, replacement availability, and the cost of a second visit.
Step 2: inspect before installation or sale
Use a receiving checklist instead of relying on packaging. Compare the label and model code with the purchase order, inspect the housing and connector for cracks or bent contacts, and check that protective films have not hidden scratches or contamination. For batteries and power products, do not use an item that is swollen, punctured, wet, unusually hot, or giving off an odor. For displays, inspect the glass, flex cables, frame, and connector under good lighting. For chargers and cables, check the plug, strain relief, insulation, and connector fit before applying a load.
Record a short test result for each unit. A repair shop can note touch response, brightness, charging recognition, current draw, audio output, button operation, or mounting stability depending on the product. A retailer can keep a sample-based quality record that identifies the supplier lot and the test conditions. This evidence makes a customer conversation more useful and helps distinguish a product issue from an installation or device issue.
Step 3: use a controlled installation or setup process
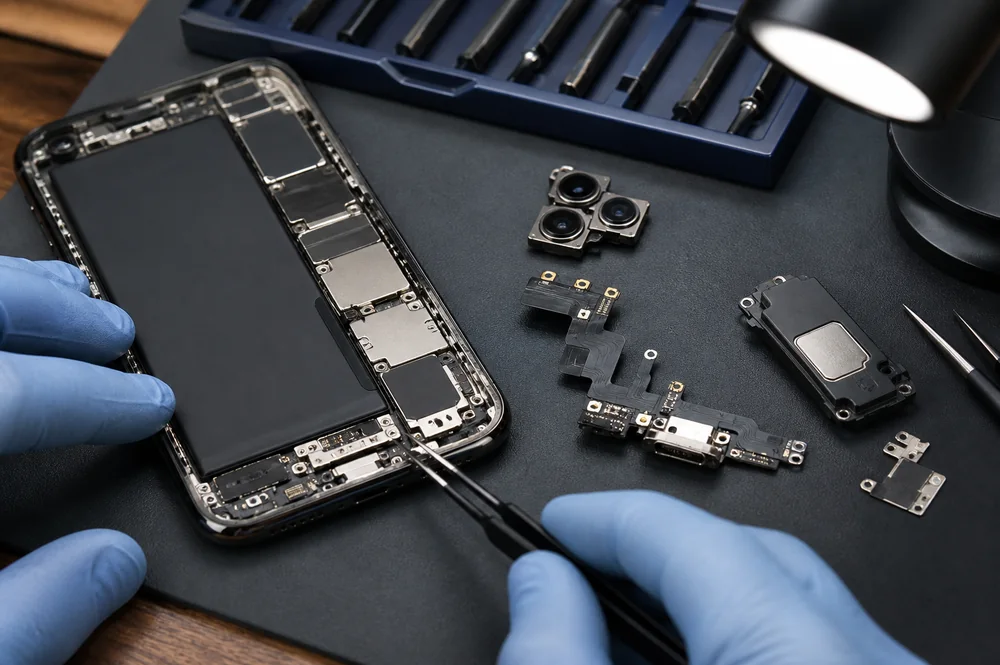
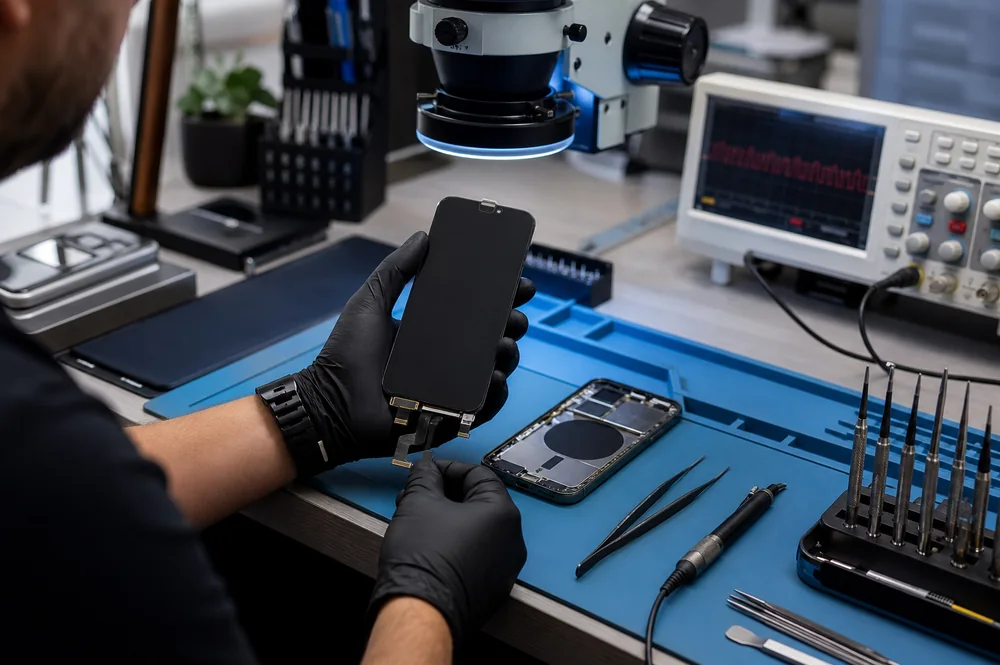
Back up the device when appropriate, power it down, protect the work surface, and use the correct tools. Keep screws and small parts organized by position. Do not force a flex cable into a connector, bend a battery, pull on a cable, or reuse damaged adhesive where a secure bond is required. After assembly, test the original complaint and the functions that could be affected by the repair: charging, touch, brightness, cameras, speakers, microphones, biometric functions, wireless charging, and network or sensor behavior when relevant.
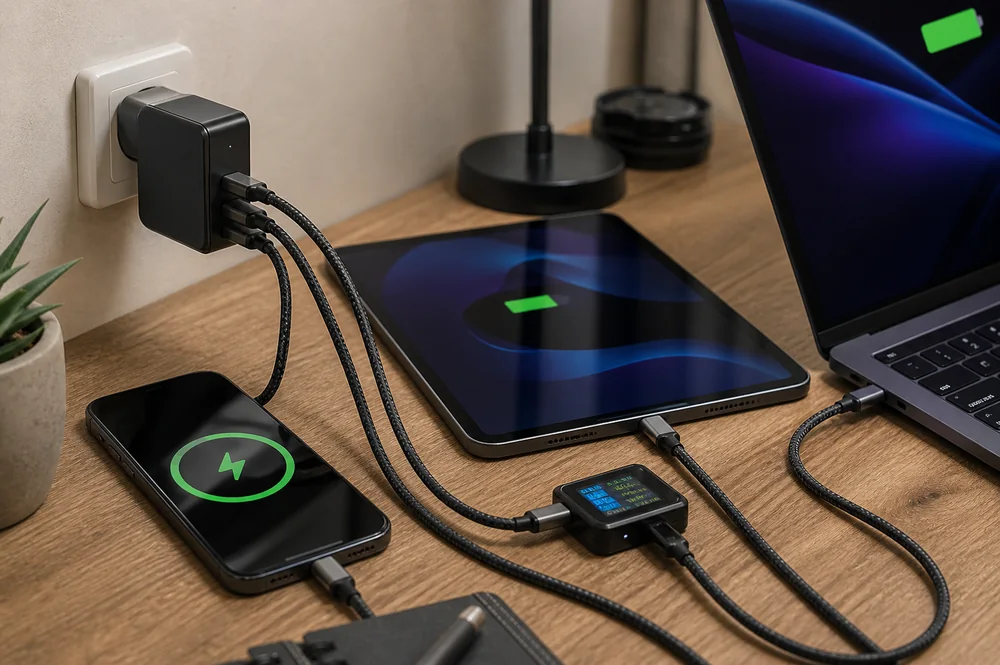
For accessories, begin with a low-risk test. Connect one device, check recognition and heat, then add the remaining devices. Keep ventilation clear and avoid placing high-power products on soft surfaces. For a vehicle mount, test the viewing position while parked and make sure the installation does not obstruct the driver’s view or interfere with controls. A clean procedure is part of product quality because it prevents an otherwise suitable product from becoming a failed repair.
How to compare products in the 3C Easy catalog
Use the catalog as a starting point, then compare the exact listing details against the job sheet. Relevant examples include PISEN Mobile Phone Built-in Battery I12/12 Pro, PISEN Mobile Phone Built-in Battery I13 Pro, and PISEN Mobile Phone Built-in Battery I13 Pro Max. These links are intentionally limited to products that match the subject of this guide. If none of the listed options matches the exact device or use case, do not substitute a superficially similar item; return to the catalog and verify the model-specific listing or ask for confirmation before ordering.
When comparing two options, score them on compatibility, measurable performance, installation effort, expected failure modes, warranty handling, and delivered cost. A slightly more expensive component may be the better business choice when it reduces repeat labor and customer downtime. Conversely, a higher wattage, larger capacity, or more advanced feature is not automatically better if the device cannot use it or the working environment does not support it.
Safety, documentation, and customer communication
Battery-powered products require special care during storage, transport, charging, and disposal. Keep damaged lithium batteries out of service and follow applicable local shipping, recycling, and workplace rules. Explain to customers what was tested, what the replacement part is designed to do, and which limitations remain. Avoid promising original-manufacturer behavior when the component is aftermarket, and do not claim a certification unless the product documentation supports that claim.
For external technical context, consult Apple iPhone battery and performance guidance. Where shipping or battery transport is part of the subject, also review FAA PackSafe lithium battery guidance. These sources do not replace the product listing or a trained technician, but they provide a useful baseline for safe decision-making. Product specifications, compatibility, regulations, and operating-system behavior can change, so confirm current information before a commercial order or repair.
Practical checklist
- Confirm the exact model, revision, connector, and intended use.
- Compare the requirement with the listing specification rather than the product name alone.
- Inspect the item before installation, sale, or charging.
- Test the part or accessory under controlled conditions and record the result.
- Explain limitations, warranty terms, and safe handling to the customer.
- Keep the purchase and test record so future returns can be investigated.
For authoritative technical context, consult OSHA lithium battery safety alongside the product documentation.
Laptop service requires its own model and part checks. Use the MacBook replacement battery buying guide for MacBook work instead of extending an iPhone battery compatibility conclusion to a computer.
Conclusion
The most dependable answer to iPhone Battery Compatibility Guide for Repair Shops is a documented process, not a generic promise. Start with exact compatibility, verify measurable requirements, inspect the physical product, test before handover, and communicate honestly about aftermarket parts and operating limits. This approach protects the device, the customer, and the repair or retail business while making the catalog easier to use. Before ordering, revisit the linked product page and confirm the current specification for the specific job.